Cross-country skiing special: equipment - technique - cross-country skiing areas
Everything you need to know about cross country skiing from beginner to pro
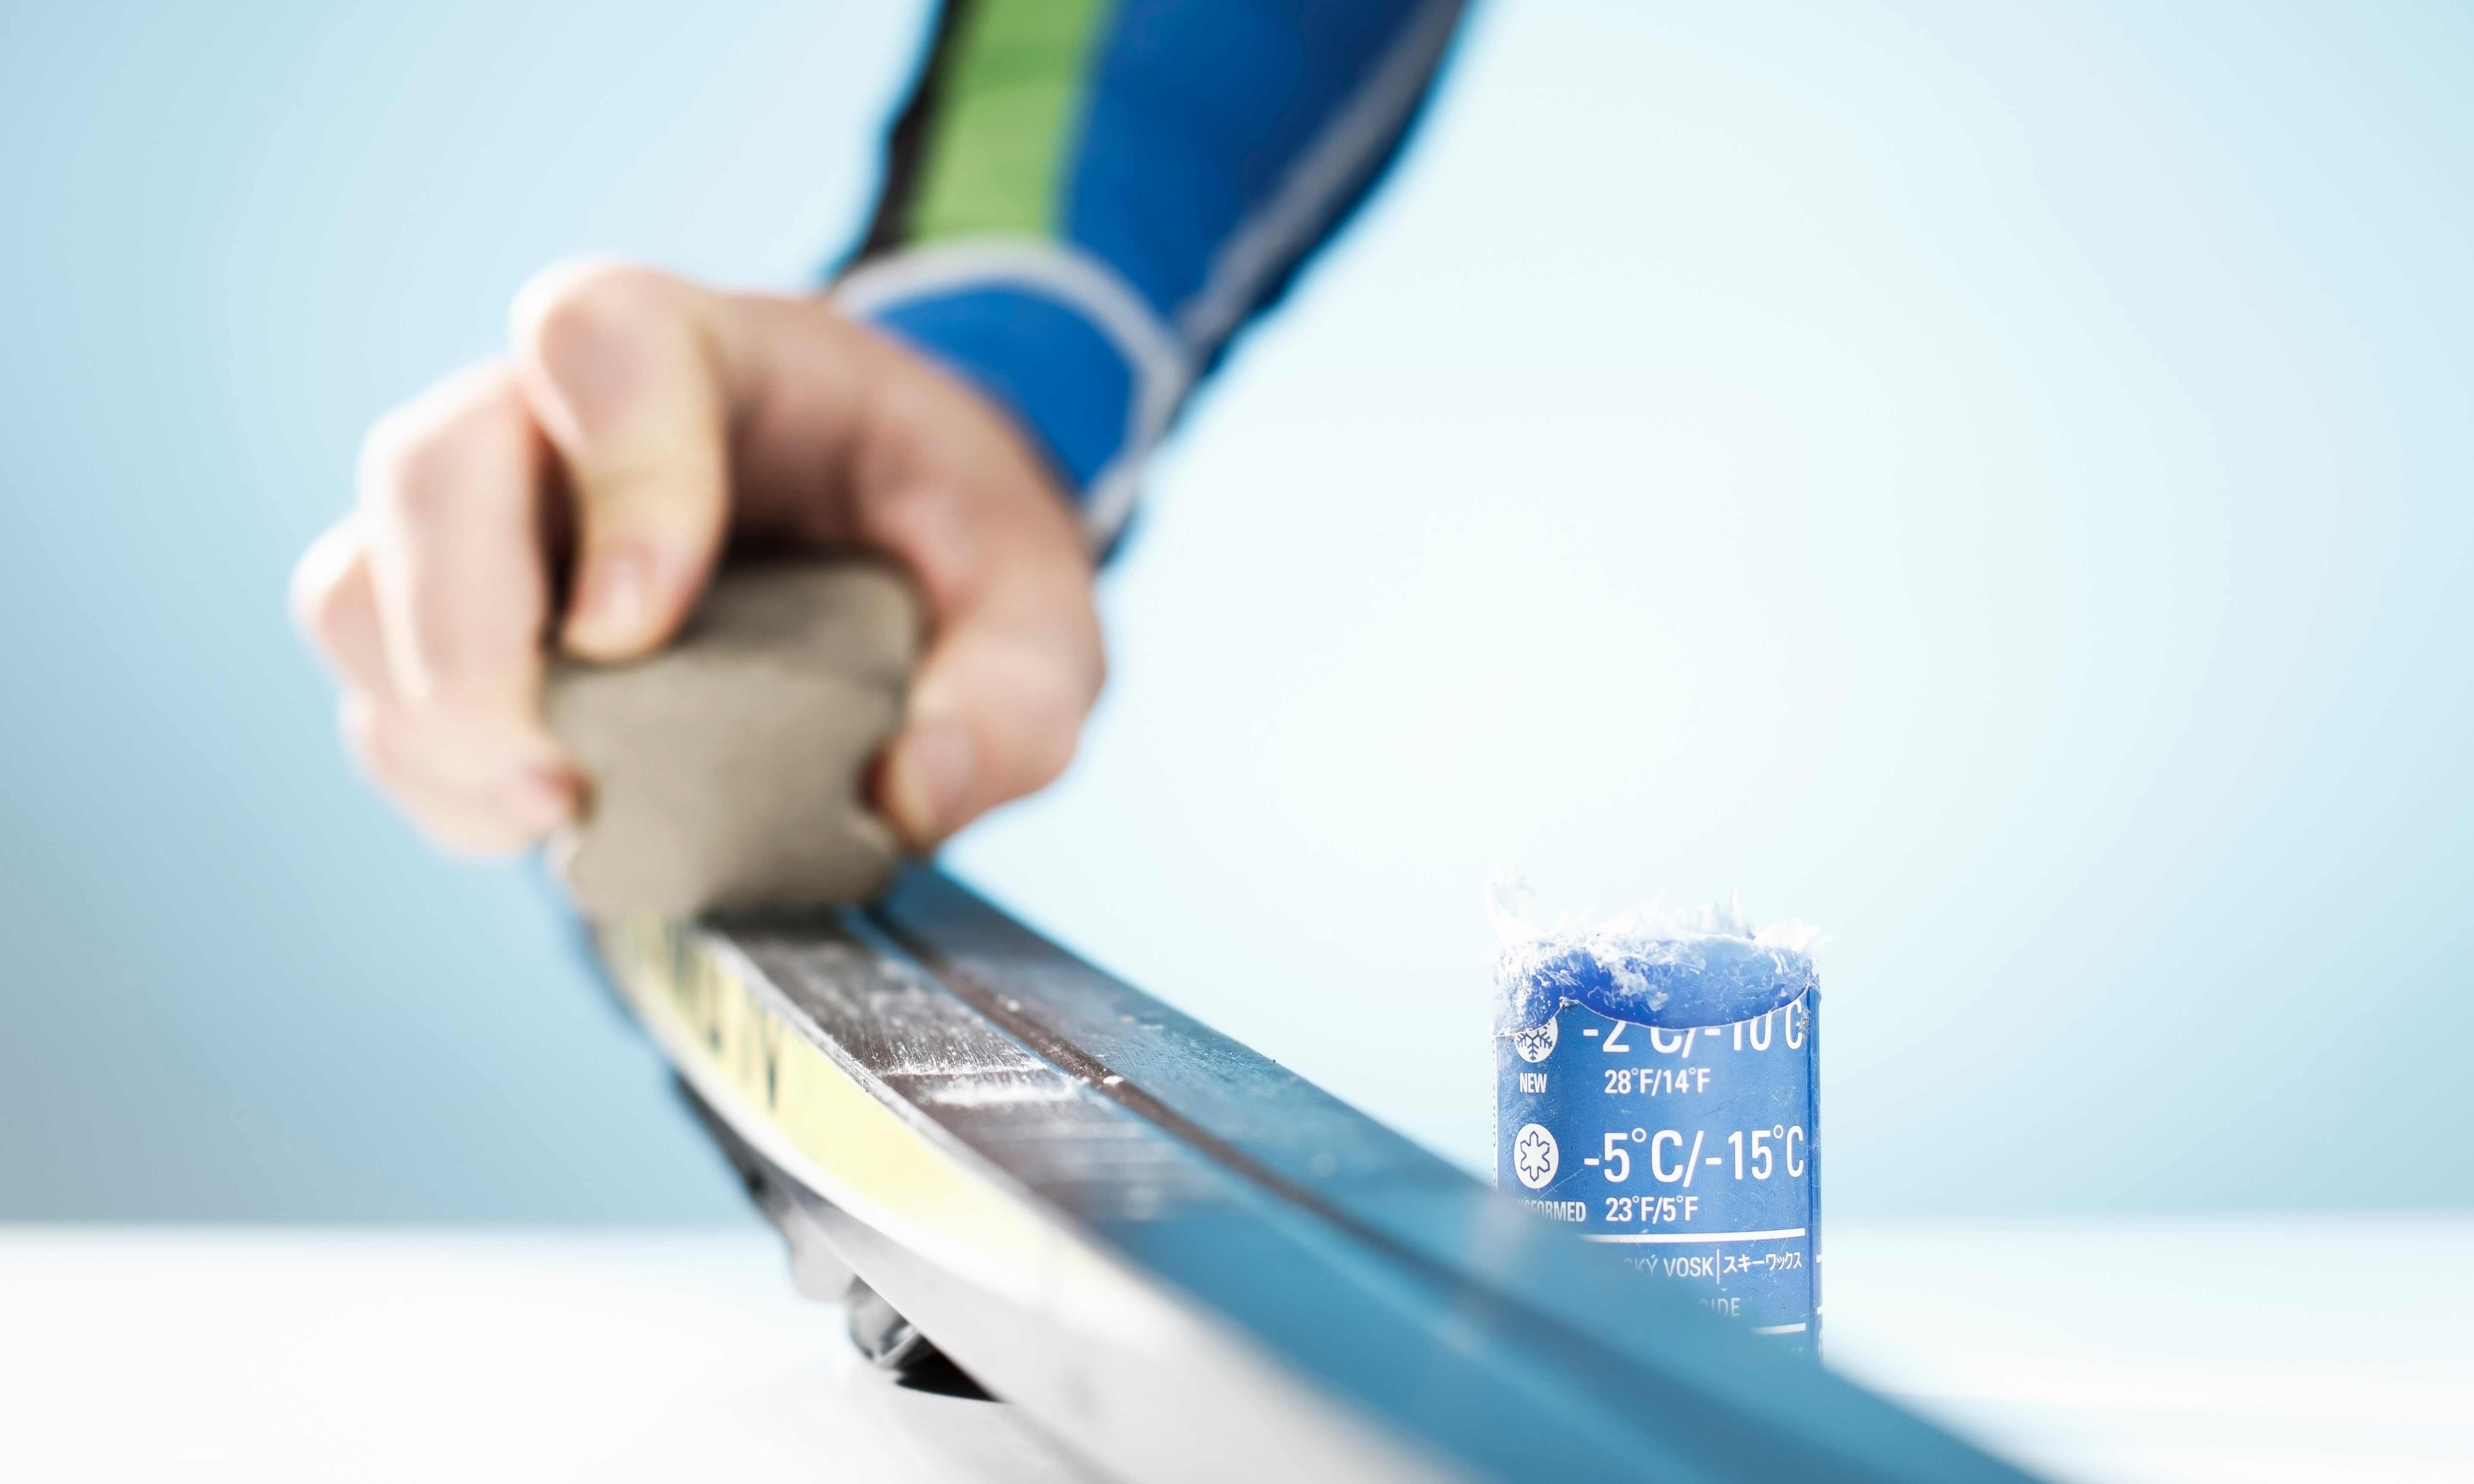
Waxed skis are simply essential for a successful day on the track. After all, annoying piling up or lost energy while gliding is not desirable for any cross-country skier. In addition, the care of the skis ensures better performance and a high longevity. This includes cleaning, grinding and waxing the skis. With classic skis, the gliding zone and the climbing zone are waxed differently. With skating skis, the entire surface. Beginners who have no experience with waxing skis have the easiest time with a so-called "Nowax ski". This has scales, grooves or fur instead of adhesive wax on the climbing zone. The question often arises as to whether new skis also need to be waxed. Generally, these are waxed by machine so that they are ready for immediate use, but it still makes sense to wax them beforehand for better performance. And how often should you wax your cross-country skis? The answer is simply as often as possible. Of course, this depends on the intensity of use, how often and how long the ski is used. However, if you look at the professional athletes, they even have a daily waxing service for their skis. It is important to sound out the snow conditions, fresh snow, for example, wears out the wax more. Therefore, it is important to wax as snow conditions and temperatures change. If there are irregularities on the gliding surface or the ski looks whitish and dry, you should definitely wax your skis. It makes no difference whether you wax a classic or skating ski. Except for the climbing surface on classic skis, which is waxed with adhesive wax, the gliding surfaces are identical. By the way, for the sake of your skis, you should not use candle wax at all.

Hot or cold wax?
The easiest to apply are the cold waxes. However, it does not last as long as hot wax, which penetrates deeper into the pores and therefore has a higher abrasion resistance. For quick waxing for in between, however, waxing with cold wax is very useful. When choosing the wax, it is important to sound out the current snow conditions, preferably by estimating the temperature. On the waxes the manufacturers write exactly for which snow and for which temperature the wax is suitable. There are different variants such as liquid wax, which is applied via an applicator, or spray-on wax. The application can take place without a device and actually everywhere. Before waxing, the ski should be cleaned in any case with a brush and a cleaner. After drying, the skis are briefly polished and you are ready to hit the slopes.

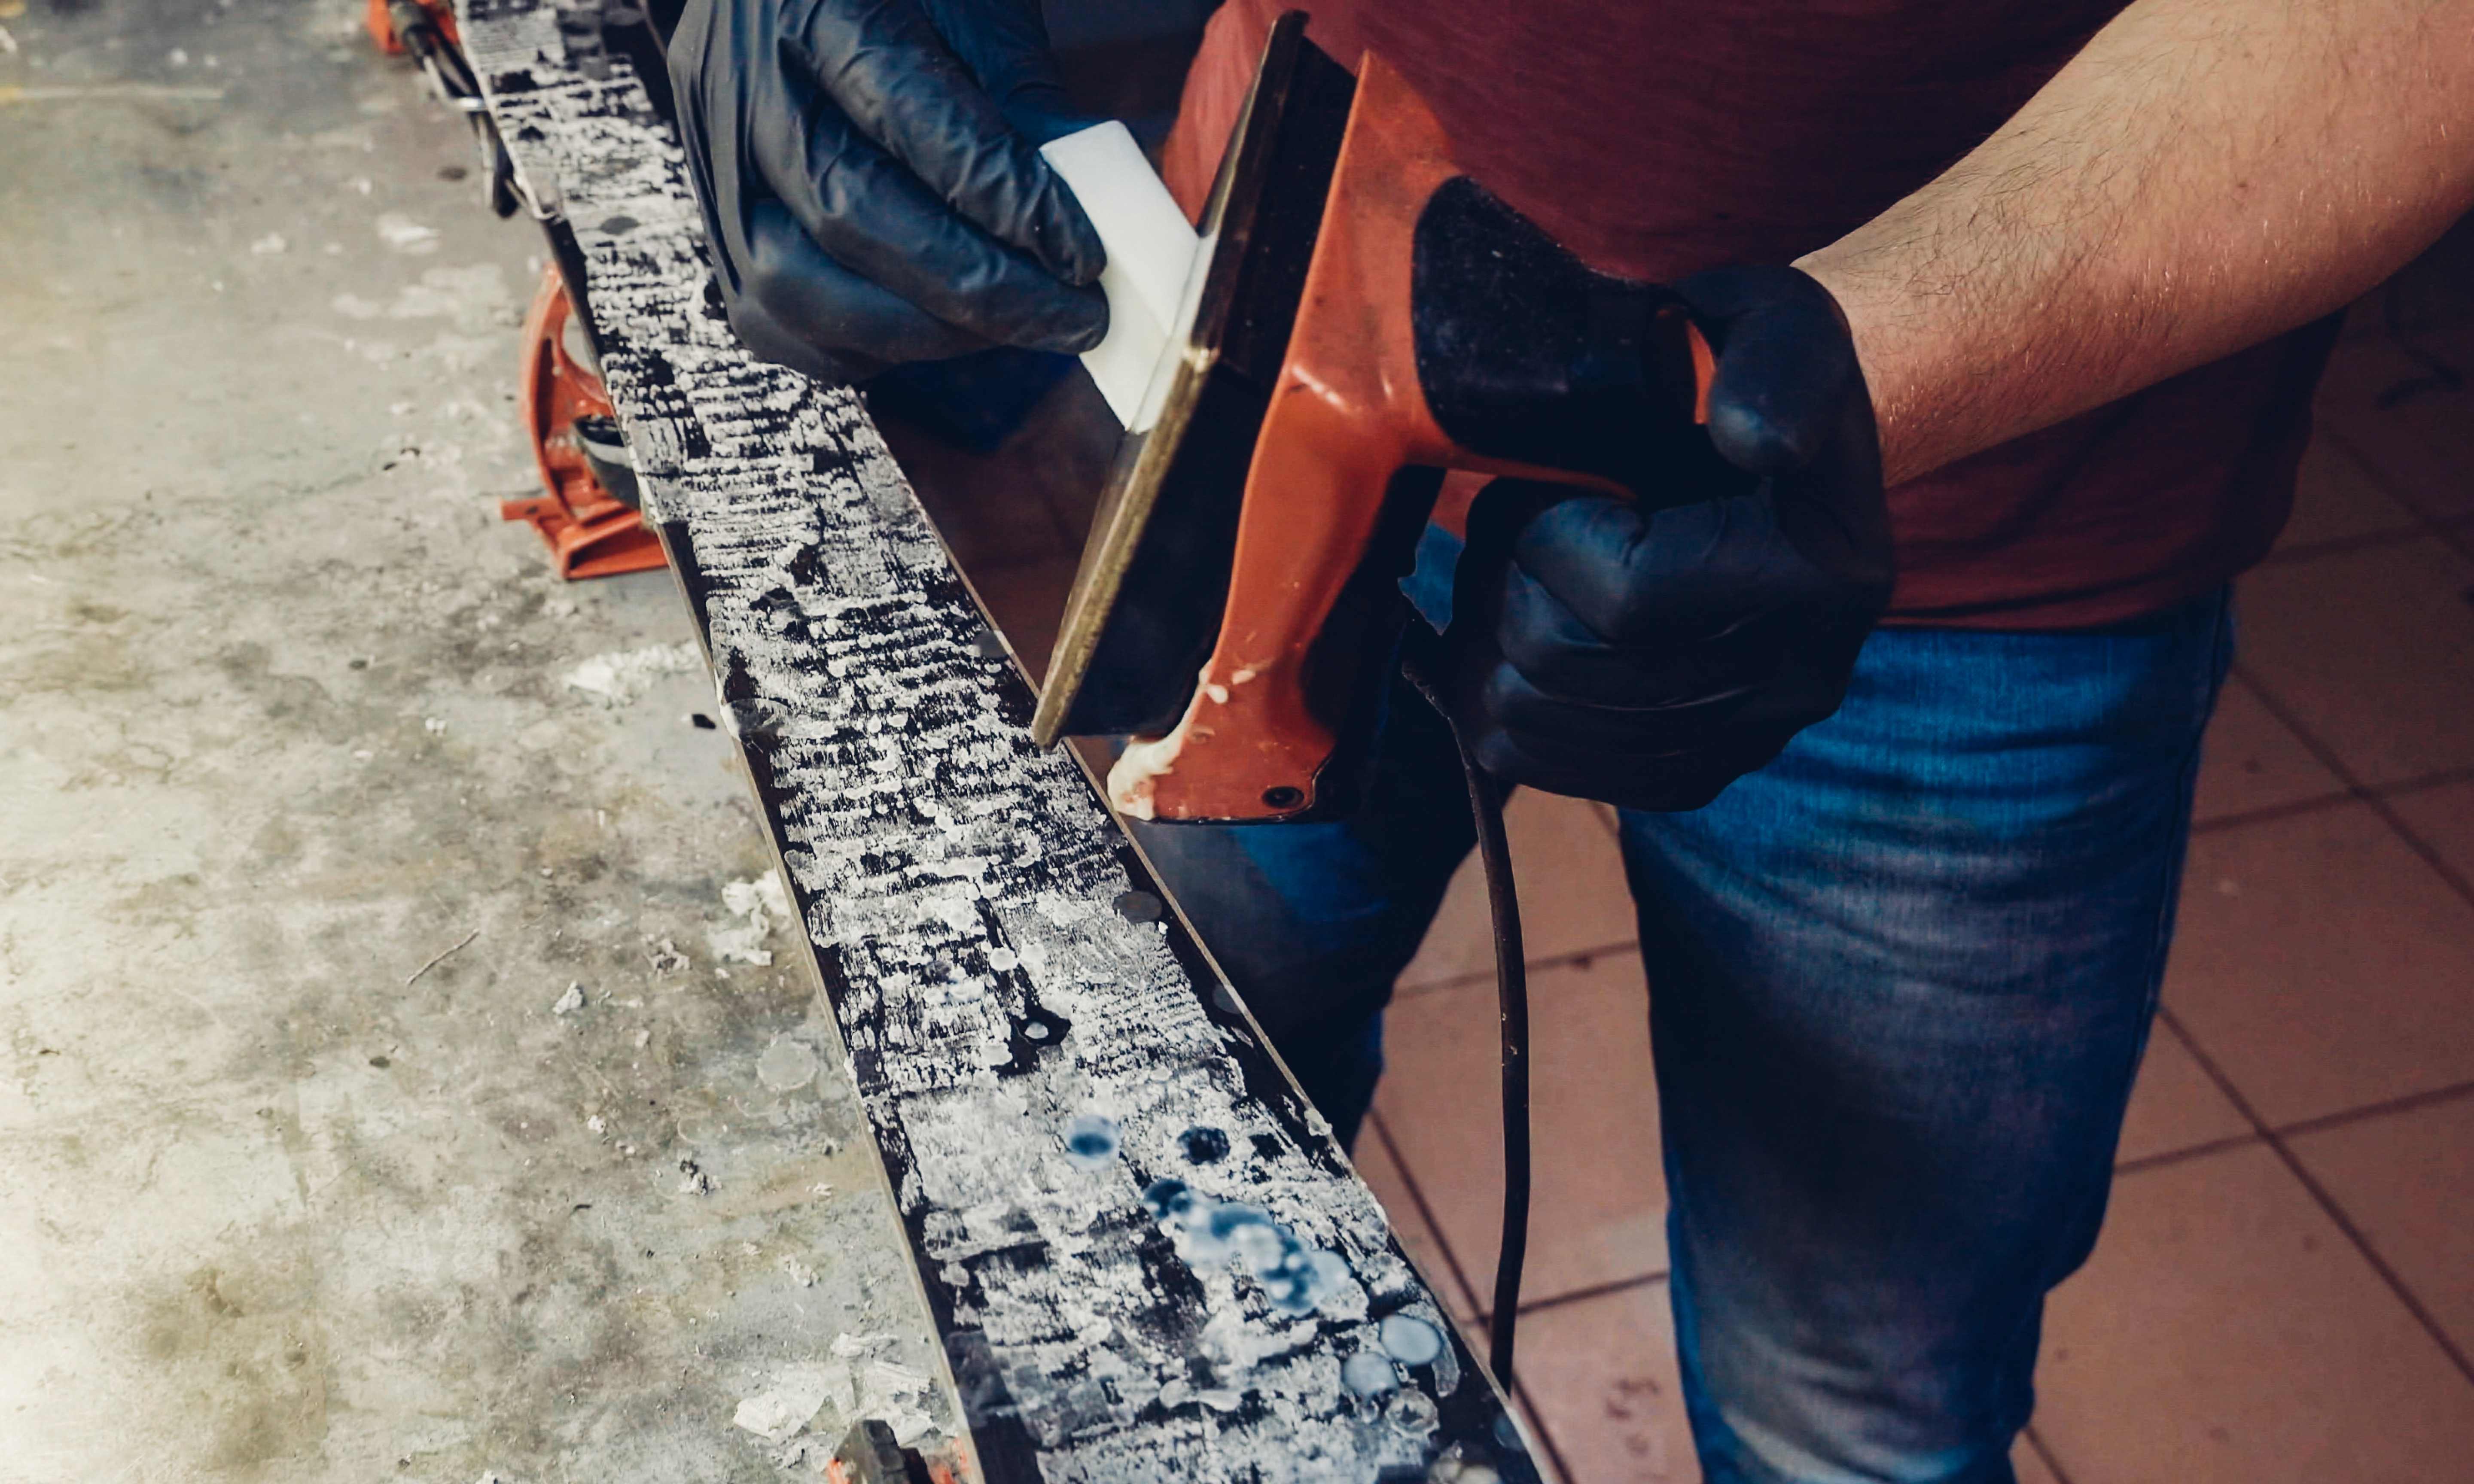
When treating with hot wax, the effort is somewhat greater. You need a suitable room, preferably with a workbench and a ski holder in which you can carefully clamp your skis. First, the ski is cleaned from dirt with a brush and a base cleaner. Furthermore, you need a hot wax iron, with this the temperature can be adjusted very precisely. Then the wax iron is heated to the temperature indicated on the wax and the wax block is held to the iron. Now the wax drips a thin layer on the complete length of the ski (for classic skis, the climbing zone is omitted). Then iron the wax slowly and evenly, in one direction and in 2-3 passes into the gliding surface. Once the wax is cold (about 20-30 minutes), first clean the water groove in the middle of the ski with the groove pencil. Then use a wax spatula to remove the remaining wax first along the edges and then over the glide zone. To get the last remnants out of the base, the surface is brushed again and finally the skis are wiped with a soft cloth. Then they are ready for the slopes.

More info about our cross country skiing special:
Teil 1: Skilanglaufen leicht gemacht: So lernst du die richtige Technik
Teil 2: So wählst du die passende Ausrüstung
Teil 4: Die schönsten Langlaufgebiete erleben
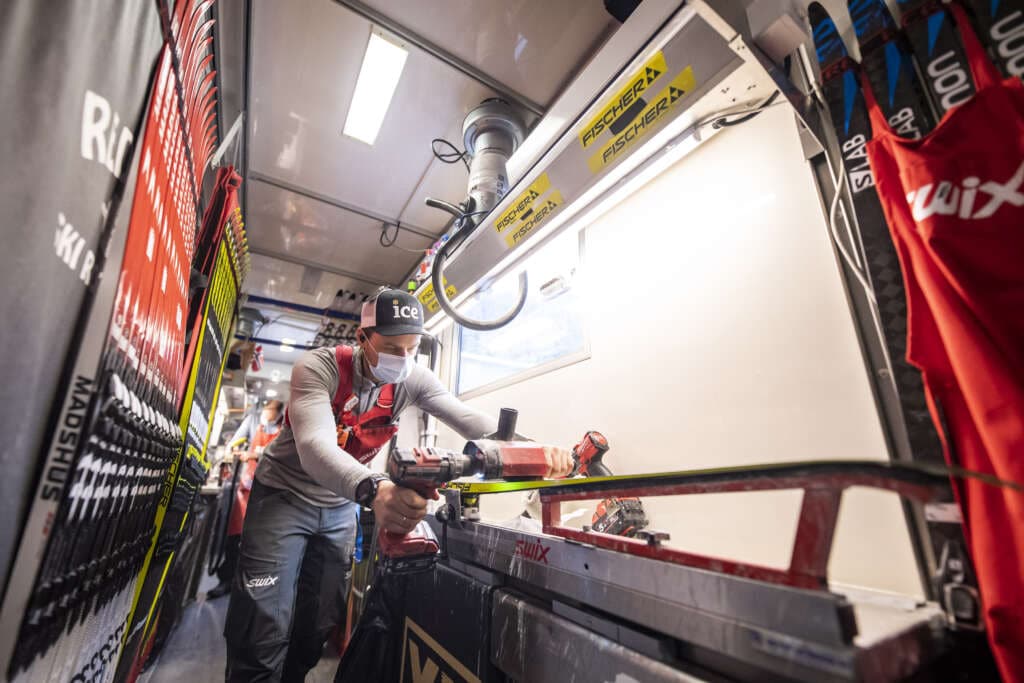
Foto Wachstruck: K.Voigt Fotografie


